Last Updated on September 12, 2023
Yes, it is essential to remove drywall dust before priming to ensure a smooth, professional finish. Drywall dust can interfere with the adhesion of the primer and paint, leading to poor results.
Dust particles left on the surface can also cause flaws and imperfections in the finished paint job. Therefore, taking the time to thoroughly clean and remove all the drywall dust will provide a clean canvas for the primer to adhere to, resulting in a better-looking and longer-lasting paint job.
Remember to vacuum the walls and wipe them down with a microfiber cloth to remove any lingering dust particles.
Importance Of Removing Drywall Dust
Proper removal of drywall dust before priming is crucial to ensure a smooth and flawless paint job. The dust can interfere with the paint’s adhesion, resulting in an uneven and unprofessional finish. By eliminating the drywall dust, you can achieve a professional-looking and long-lasting result.
Dust As A Barrier To Paint Adherence
Drywall dust is an inevitable byproduct of any renovation or drywall installation process. Although it may seem like a minor inconvenience, overlooking the importance of removing drywall dust before priming can have several negative consequences. Here’s why:
- Poor paint adherence: Drywall dust can act as a barrier between the primer and the wall surface, preventing the paint from adhering properly. When paint does not adhere well, it can result in patchy or uneven coverage, leading to a less-than-desirable end result.
- Uneven texture: The presence of drywall dust on the surface can create an uneven texture, causing the paint to appear rough or bumpy in certain areas. This can be particularly evident when using glossy paint finishes, which tend to highlight imperfections more prominently.
- Decreased paint longevity: Without proper adherence, the paint may not withstand the test of time. Over time, the paint may peel or chip away due to the weakened bond caused by the presence of residual drywall dust.
- Difficulties with touch-ups: If you ever need to touch up your painted walls in the future, the presence of drywall dust might complicate the process. The touch-up paint may not blend seamlessly with the existing surface, resulting in noticeable discrepancies in color or texture.
- Smoother finish: By taking the time to remove drywall dust before priming, you can achieve a smoother, more professional-looking finish. The absence of dust particles ensures that the paint glides onto the surface evenly, creating a more polished appearance.
Impact On Paint Appearance And Finish
The appearance and finish of your painted walls can make a significant difference in the overall aesthetics of a room. Let’s delve into the specific ways in which failing to remove drywall dust can impact the paint’s appearance:

- Visible imperfections: Dust particles trapped beneath the paint can become visible once the paint dries. These imperfections can detract from the overall beauty of the painted surface, resulting in a less visually appealing outcome.
- Streaks and lines: When paint is applied over drywall dust, it can leave streaks and lines that remain visible even after the paint has dried. This can be especially noticeable in areas with strong lighting or when using lighter paint colors.
- Diminished color vibrancy: Drywall dust can obscure the true color of the paint, causing it to appear dull or less vibrant than intended. Removing the dust ensures that the true color shines through, enhancing the overall visual impact of the painted walls.
- Professional appearance: A smooth, even paint finish can give the room a professional and finished look. On the other hand, a paint job marred by the presence of drywall dust can make the space appear amateurish or hastily done.
Taking the time to remove drywall dust before priming is essential for achieving a flawless paint job. Not only does it enhance paint adherence and longevity, but it also ensures a smooth and professional finish. Don’t overlook this crucial step in your painting process to achieve the best possible results.
Risks Of Not Removing Drywall Dust
Not removing drywall dust before priming can pose serious risks. The dust particles can ruin the paint finish, cause respiratory issues, and even damage electrical systems. It is essential to clean the area thoroughly to ensure a smooth and safe painting process.
Drywall dust can be a messy byproduct of construction or renovation projects, and it’s common to wonder if it needs to be removed before priming the walls. While it may be tempting to skip this step in the interest of saving time or effort, there are several risks associated with not removing drywall dust.
In this section, we’ll explore these risks in detail.
Reduced Durability Of The Paint Job:
- Drywall dust can create a barrier between the paint and the wall surface, affecting adhesion.
- This can result in an uneven finish and reduced durability of the paint job.
- Over time, the paint may start to peel or flake off, requiring touch-ups or even a complete repaint.
Potential For Mold Or Mildew Growth:
- Drywall dust contains organic materials that can provide a food source for mold and mildew.
- If the dust isn’t removed, it can create a breeding ground for these harmful fungi.
- Mold and mildew can lead to health issues and cause damage to the walls, requiring expensive remediation.
Negative Impact On Indoor Air Quality:
- Drywall dust particles are fine and can remain airborne for an extended period.
- Breathing in this dust can lead to respiratory problems and allergies.
- The accumulation of dust particles on surfaces can also worsen indoor air quality, affecting overall comfort and health.
It’s crucial to remove drywall dust before priming to avoid these risks. Taking the time to properly clean the walls will ensure a smoother and more durable paint job, reduce the likelihood of mold or mildew growth, and contribute to better indoor air quality.
So, don’t overlook this essential step in your painting process.
Gather The Necessary Tools And Materials
Before priming, it is important to gather all the necessary tools and materials for the job, including a vacuum cleaner, dust masks, drop cloths, and a primer. This will help ensure a clean and smooth surface for painting.
Before you start priming your drywall, it is essential to gather all the necessary tools and materials. This will ensure that you have everything you need for a smooth and efficient process. Here are the tools and materials you will need:

- Vacuum cleaner with HEPA filter: This is an important tool to have as it will help you remove the bulk of the drywall dust from the walls. The HEPA filter in the vacuum ensures that the dust is effectively trapped, preventing it from being recirculated into the air.
- Soft-bristle brush: A soft-bristle brush is useful for removing stubborn drywall dust from hard-to-reach areas, such as corners and crevices. The soft bristles help to avoid damaging the drywall surface while effectively removing dust.
- Microfiber cloth or tack cloth: Using a microfiber cloth or tack cloth is a great way to wipe down the walls after vacuuming and brushing off the loose dust. These cloths are designed to attract and trap dust particles, ensuring a clean and smooth surface for priming.
- Protective gear (mask, goggles, gloves): It is imperative to protect yourself during the dust removal process. Wear a mask to prevent inhalation of dust particles, goggles to shield your eyes from any debris, and gloves to keep your hands clean and protected.
Gathering these tools and materials will make your drywall priming process easier and more efficient. It’s essential to have everything ready before you begin to ensure a successful and dust-free paint application.
Step-By-Step Guide To Removing Drywall Dust
Looking for a step-by-step guide to removing drywall dust? Find out if you need to remove it before priming and discover the best practices to achieve a clean and smooth finish for your walls.
Drywall installation or repair projects often leave behind fine dust particles that can affect the quality and durability of a paint job. Removing drywall dust is an essential step before priming to ensure a smooth and flawless finish. In this step-by-step guide, we’ll walk you through the process of removing drywall dust, so you can achieve professional-looking results.
Vacuuming The Drywall Surfaces:
- Start by equipping yourself with a shop vacuum or a high-quality vacuum cleaner.
- Attach a soft-bristle brush attachment to the vacuum to prevent scratching the drywall surface.
- Carefully vacuum the entire area, including walls and ceilings, to remove loose dust and debris.
- Pay particular attention to corners, edges, and seams where dust tends to accumulate.
- Move the vacuum in slow, overlapping strokes to ensure thorough removal of dust particles.
Using A Soft-Bristle Brush To Remove Dust From Crevices:
- Once you have vacuumed the majority of the drywall dust, use a soft-bristle brush to access hard-to-reach areas and crevices.
- Gently brush along the corners, joints, and edges to dislodge any remaining dust.
- Work your way systematically across the entire surface, ensuring that you cover all crevices and corners.
- Be cautious not to apply too much pressure, as it may damage the drywall or spread the dust further.
Wiping Down The Surfaces With A Microfiber Cloth Or Tack Cloth:
- After vacuuming and brushing, it’s time to wipe down the surfaces to remove any residual dust.
- Dampen a microfiber cloth with water or use a tack cloth specifically designed for dust removal.
- Starting from the top, wipe the walls and ceilings in a downward motion, not forgetting the baseboards and trim.
- Ensure that the cloth remains clean and free of dust by rinsing it regularly or using a fresh cloth.
- Continue the wiping process until you have gone over the entire surface area, ensuring that no dust is left behind.
Following these step-by-step instructions will help you effectively remove drywall dust before priming, resulting in a cleaner and better-prepared surface for painting. Remember, taking the time to properly remove drywall dust will ultimately contribute to a smoother and more professional-looking finish to your painting project.
Precautions To Take When Removing Drywall Dust
Before priming, it is important to take precautions when removing drywall dust. This includes using a dust mask, sealing off the area, and using proper cleaning techniques to prevent the dust from spreading and causing inhalation or health issues.
When it comes to preparing your walls for priming, removing drywall dust is an essential step. However, it’s important to take proper precautions to ensure your safety and the quality of your priming job. Here are some important precautions to keep in mind:
Ensuring Proper Ventilation In The Room:
- Open windows and doors to allow fresh air to circulate in the room.
- Consider using fans or air purifiers to aid in ventilation.
Using Appropriate Protective Gear To Avoid Inhalation Or Contact:
- Wear a dust mask or respirator to protect against inhaling drywall dust particles.
- Put on safety goggles or glasses to shield your eyes from flying debris.
- Use gloves to protect your hands from irritation or skin contact.
Minimizing Dust Spread And Exposure:
- Cover furniture and other items in the room with plastic sheets to prevent dust accumulation.
- Sweep or vacuum the area before starting to remove drywall dust to minimize its spread.
- Wet the floor and surfaces to reduce dust particles’ airborne movement.
- Use a drywall sander equipped with a dust-collection system to minimize dust dispersal.
Proper Disposal Of Drywall Dust:
- Collect the removed drywall dust in a disposable bag or container to prevent its spread.
- Seal the bag tightly before disposing it in the garbage.
Cleaning Up Effectively:
- Vacuum any remaining dust from the room and all surfaces.
- Wipe down walls, floors, and other surfaces with a damp cloth to remove any residual dust.
- Ensure that the room is completely dust-free before proceeding with priming.
By following these precautions, you’ll not only protect your health but also create a clean and well-prepared surface for priming your walls. Taking the extra time and care during the dust removal process will ensure a smooth and professional finish for your priming job.
Additional Steps For Thorough Dust Removal
For thorough dust removal before priming, it is important to go beyond the basics. Make sure to vacuum or wipe down the drywall, use a tack cloth to pick up any remaining dust, and consider sealing the surface with a primer specifically designed for dusty environments.
After sanding the drywall surface, it’s essential to take a few extra measures to ensure thorough dust removal. Following these additional steps will not only help in achieving a smoother and more professional paint finish but also contribute to a healthier environment.
Here are the key steps to consider:
- Applying a Damp Cloth: Before priming, it’s crucial to wipe down the sanded area with a damp cloth. This step helps capture any remaining dust particles that might not have been completely removed during sanding.
- Start from the Top: Begin wiping the walls from the top downward, moving in a systematic and organized manner. This ensures that you cover the entire surface and leave no area untouched.
- Use a Gentle Touch: When wiping the walls, use a gentle touch rather than applying excessive pressure. The goal is to pick up the dust particles instead of smearing them across the surface. Applying too much pressure can cause the dust to become embedded in the drywall or spread to other areas.
- Frequently Rinse the Cloth: As you wipe the walls, make sure to rinse the damp cloth regularly. This prevents the dust from accumulating on the cloth and being redistributed onto the wall. A clean cloth ensures effective dust removal throughout the process.
- Inspect for Residual Dust: After wiping the walls, it’s essential to inspect the surface for any signs of residual dust. Take a closer look at areas such as corners, edges, and seams, as these are common spots where dust may linger. If you notice dust particles, re-wipe those areas with the damp cloth.
Remember, taking these additional steps will not only provide a clean surface for priming but also contribute to better paint adhesion and a flawless final finish. Make sure to allow sufficient drying time before proceeding to the priming and painting stages.
By investing a little extra effort in thorough dust removal, you can achieve professional-looking results that will boost the overall appeal of your space.
Inspecting The Surface For Remaining Dust
Before priming, it is essential to inspect the surface thoroughly for any remaining drywall dust. This step ensures a smooth and flawless paint finish by avoiding dust particles from affecting the primer adhesion.
When it comes to priming a wall, it is important to ensure that the surface is free from any dust particles. Even though drywall dust may seem insignificant, it can affect the adhesion of the primer and result in an uneven finish.
To ensure a flawless paint job, there are two effective methods you can use to inspect the surface for any remaining dust: using angled lighting and feeling the surface with a clean hand.
Using Angled Lighting To Identify Any Missed Areas:
- Position a bright light at an angle to the wall surface.
- Move the light up and down the wall, paying attention to shadows and reflections.
- Dust particles will show up as specks or a hazy appearance.
- Inspect the entire wall, focusing on areas that might have been easily missed.
Feeling The Surface With A Clean Hand To Detect Hidden Dust:
- Wash and dry your hands thoroughly before starting.
- Run your fingertips gently over the wall surface.
- Any dust particles will feel gritty or rough.
- Pay close attention to corners, crevices, and edges, as dust tends to accumulate in these areas.
- If you feel any dust, gently wipe it away with a clean, dry cloth.
By utilizing these inspection methods, you can identify any areas that still contain drywall dust. Removing this dust before priming ensures a smooth and professional-looking finish for your painted walls.
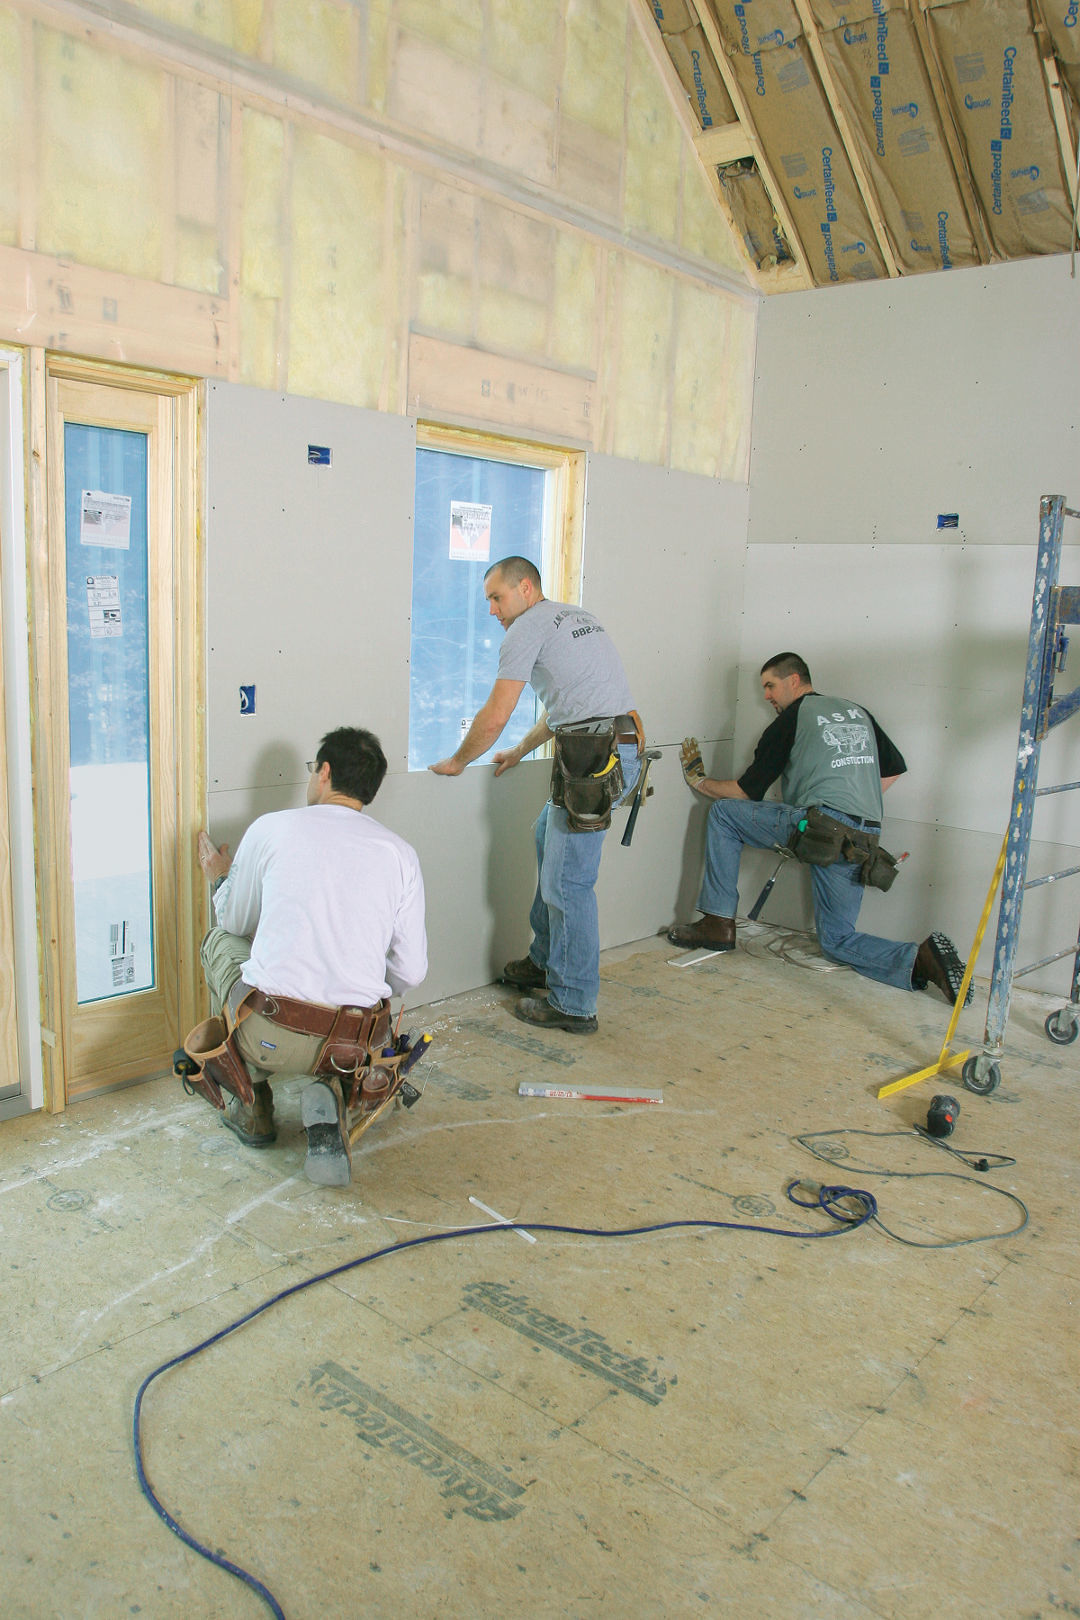
Credit: www.finehomebuilding.com
Priming After Drywall Dust Removal
Remove drywall dust before priming to ensure a smooth and durable finish. Proper dust removal eliminates potential adhesion issues and enhances the effectiveness of primer, resulting in a professional-looking paint job. Don’t skip this essential step for optimal results.
After the tiring process of drywall installation or repair, you might be eager to move on to the more exciting stages of painting and decorating. But before you do, it’s crucial to address the issue of drywall dust. Many people wonder if they need to remove drywall dust before priming their walls.
In this section, we’ll explore the importance of using a primer before painting and the benefits of a clean and dust-free surface for primer application.
Importance Of Using A Primer Before Painting
Using a primer before applying paint is an essential step in achieving a professional-looking and long-lasting finish. Here’s why:
- Enhanced paint adhesion: Primers create a smooth and even surface for paint to adhere to. They form a bond between the wall and the paint, allowing it to adhere better and reducing the chances of paint peeling or flaking over time.
- Improved paint coverage: Primers help paint cover the surface more evenly and effectively. They can help in sealing porous surfaces and preventing excessive paint absorption, ensuring that you use less paint to achieve the desired coverage.
- Stain blocking: Primers with stain-blocking properties can effectively seal and cover stains, such as watermarks or smoke damage. This prevents them from bleeding through the paint and affecting the final appearance.
- Surface sealing: Primers can help seal and smooth porous surfaces, such as drywall, preventing excessive paint absorption and reducing the number of paint coats needed for a smooth finish.
- Uniform color: Using a primer can create a uniform base color, allowing the final paint color to appear true to its intended shade. It prevents wall imperfections or variations in the original wall color from affecting the final result.
Benefits Of A Clean And Dust-Free Surface For Primer Application
Before you start priming your walls, it’s crucial to ensure the surface is clean and free of dust. Here’s why:
- Smooth finish: Dust particles on the wall can interfere with the primer’s ability to form a smooth and even surface. Cleaning the wall and removing dust ensures that the primer can do its job effectively, reducing the likelihood of a rough or uneven texture in the final paint.
- Proper adhesion: Drywall dust can create a barrier between the wall surface and the primer, hindering proper adhesion. By removing the dust, the primer can bond well with the wall, improving its overall adhesion and durability.
- Prevents imperfections: Dust particles can become trapped under the primer, leading to visible imperfections once the paint is applied. Removing the dust ensures a cleaner base, minimizing the chances of blemishes or flaws in the finished paint job.
- Longevity of the paint: Dust can affect the durability of your paint job. If not adequately removed, it may cause premature cracking, peeling, or chipping of the paint over time. Removing the dust before priming helps create a strong foundation for the paint, ensuring its longevity.
By understanding the importance of using a primer before painting and the benefits of a clean and dust-free surface for primer application, you can ensure a successful and professional-looking paint job. Take the time to properly prepare your walls by removing drywall dust before priming, and you’ll be rewarded with a beautiful and long-lasting finish.
Frequently Asked Questions For Do I Need To Remove Drywall Dust Before Priming?
Do I Need To Remove Dust Before Priming?
Yes, it is important to remove dust before priming. Dust particles can interfere with the adhesion and smoothness of the primer and the subsequent paint layers. Before applying primer, ensure the surface is clean and free from any dust or debris.
Use a soft cloth or brush to gently remove the dust, or consider vacuuming the area to completely eliminate particles. It is recommended to clean the surface thoroughly, ensuring a smooth and even base for the primer. Taking the time to remove dust will help achieve a professional and long-lasting finish for your painting project.
How Do You Prepare New Drywall For Priming?
To prepare new drywall for priming, follow these steps: 1. Start by inspecting the drywall surface for any imperfections or joint compound residue. 2. Fill in any holes or cracks with a joint compound and smooth it out with a putty knife.
3. Once the compound is dry, sand the entire surface with fine-grit sandpaper to create a smooth finish. 4. Remove the dust with a damp cloth or vacuum cleaner. 5. Apply a primer coat to seal the drywall and ensure the paint adheres well.
6. Use a paint roller or brush to evenly apply the primer, covering the entire surface. 7. Let the primer dry according to the manufacturer’s instructions before applying the paint color of your choice. By following these steps, you will have properly prepared your new drywall for priming and painting.
Does Primer Stick To Dust?
Yes, primer does stick to dust. When applying primer, it is important to have a clean and dust-free surface to ensure proper adhesion. Dust particles can prevent the primer from adhering to the surface effectively. Before applying primer, it is recommended to thoroughly clean the surface and remove any dust or debris.
This can be done by using a vacuum cleaner or a damp cloth to ensure a smooth and clean surface. By taking this step, the primer will have a better grip on the surface and provide a solid foundation for the paint job.
How Long Should Drywall Mud Dry Before Priming?
Drywall mud should dry completely before priming, typically taking around 24 to 48 hours. Primer helps to ensure smooth and even paint coverage on the surface, so it’s important to allow enough time for the drywall mud to dry thoroughly.
This will prevent any moisture from compromising the primer and paint application. Waiting long enough for the mud to dry also helps to avoid issues like cracking or bubbling in the finished paint job. By letting the mud dry completely before priming, you’ll achieve a professional and flawless result.

Conclusion
Removing drywall dust before priming is a crucial step in ensuring a smooth and flawless paint job. The process may require some extra time and effort, but it is well worth it in the end. By removing the dust, you prevent it from mixing with the primer, which could lead to an uneven coat and poor adhesion.
Avoiding this issue will ultimately result in a more professional and long-lasting finish. Additionally, taking the time to remove drywall dust also helps to create a healthier indoor environment by minimizing potential respiratory issues caused by dust particles. So, whether you are a DIY enthusiast or a professional contractor, don’t overlook the importance of removing drywall dust before priming – it’s a simple step that can make a big difference in the quality of your paint job.