Last Updated on October 17, 2023
To clean piano keys, gently wipe them with a soft, damp cloth. Take care not to use too much water or any harsh cleaning agents that could damage the keys.
Piano keys can accumulate dirt and grime over time, affecting their appearance and even their performance. Regular cleaning is important to keep the keys looking and functioning their best. To clean piano keys properly, follow these simple steps: 1. Start by preparing a solution of mild soap and warm water.
2. Dampen a soft cloth or sponge with the solution and wring out any excess moisture. 3. Gently wipe the keys, moving from left to right, using a gentle back-and-forth motion. 4. Pay special attention to any stubborn stains or marks, and repeat the process if necessary. 5. Once you have cleaned all the keys, use a separate dry cloth to wipe away any remaining moisture. 6. Finally, allow the keys to air dry fully before using the piano again. By following these steps, you can keep your piano keys clean and maintain their appearance and performance for years to come.

Credit: www.pianostreet.com
Materials Needed
How To Clean Piano Keys: Materials Needed
To clean your piano keys effectively, it’s essential to gather the right materials. Here are the items you’ll need:
- Soft microfiber cloth: This gentle cloth will help remove dust and fingerprints from the piano keys without scratching them.
- Distilled water: Use distilled water instead of tap water to prevent mineral deposits from settling on the keys.
- Mild soap solution: A mild soap solution, such as dish soap mixed with water, can be used to clean more stubborn stains on the keys.
- Cotton swabs: These small tools are perfect for reaching the crevices between the keys and can be beneficial for removing dirt and grime.
- Piano key cleaner: A specialized piano key cleaner can be used for deeper cleaning and restoration purposes, ensuring your keys maintain their original luster.
- Toothbrush: A soft-bristled toothbrush can be useful for gentle scrubbing of the keys, especially when using a mild soap solution.
- Piano key cover: While not necessarily a cleaning material, a piano key cover is highly recommended to protect the keys from dust and other external factors when not in use.
Now that you have gathered all the necessary materials, let’s move on to the steps involved in cleaning your piano keys thoroughly.
Precautions To Take Before Cleaning
Precautions To Take Before Cleaning:
Before you start cleaning your piano keys, it’s important to take some precautions to ensure the process goes smoothly. Follow these steps to prepare yourself and your piano before getting started:
- Turn off the piano and unplug it:
- Ensure the piano is completely powered off before you begin cleaning.
- Unplug the piano from the electrical outlet to avoid any accidental damage.
- Remove any jewelry from your hands:
- Take off any rings, bracelets, or watches to prevent scratching the piano keys.
- Jewelry can also get in the way and make the cleaning process more difficult.
- Wash your hands thoroughly:
- Prior to handling the piano keys, it’s essential to clean your hands to avoid transferring dirt, oils, or other substances onto the keys.
- Use mild soap and warm water to wash your hands thoroughly, ensuring you clean between your fingers and underneath your nails.
By following these precautions, you can protect both your piano and yourself during the cleaning process. Once you have completed these steps, you are ready to move on to the actual cleaning of the piano keys.
Step-By-Step Cleaning Process
Step 1: Dusting The Keys
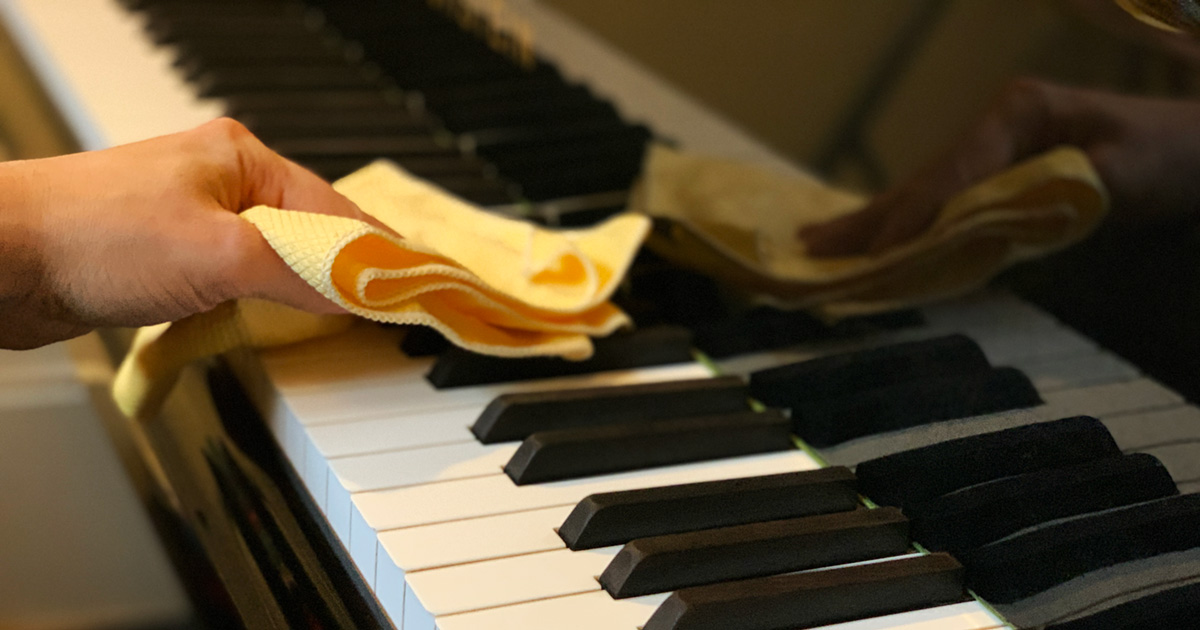
To begin the cleaning process, gently wipe the piano keys using a soft microfiber cloth. This will help remove any dust or debris that may have accumulated on the surface.
Step 2: Preparing The Cleaning Solution
Next, mix distilled water with a mild soap solution in a small bowl. This will create a gentle yet effective cleaning solution for the keys.
Step 3: Cleaning The Keys
Dampen the cloth with the cleaning solution and proceed to wipe each key from top to bottom using gentle strokes. This will ensure thorough cleaning while avoiding any potential damage.
- Use cotton swabs for hard-to-reach areas and crevices. These areas often accumulate dirt and grime and require a more targeted approach for cleaning.
Step 4: Cleaning The Keytops
For stubborn stains and dirt on the keytops, a piano key cleaner can be used. Apply the cleaner to a cloth and gently rub the keytops, paying extra attention to any visible marks or discoloration.
Step 5: Cleaning Between The Keys
Cleaning between the keys is equally important to maintain the overall cleanliness of the piano. To do this, use a toothbrush and gently brush away any dirt or debris that may have accumulated in this hard-to-reach area.
Step 6: Drying The Keys
Once the keys have been cleaned, it is important to ensure they are properly dried. Wipe the keys dry with a clean, dry microfiber cloth to remove any excess moisture.
Step 7: Protecting The Keys
To prevent future dirt and damage, consider using a piano key cover. This will protect the keys from dust, spills, and other potential hazards, ensuring their longevity and optimal performance.
Regular Maintenance Tips
To ensure that your piano keys look and function their best, it’s important to incorporate regular maintenance into your piano care routine. By following these tips, you can keep your piano keys clean and prevent dirt buildup:
- Avoid eating or drinking near the piano: Eating or drinking near the piano can lead to spills and stains on the keys. To prevent this, make it a habit to enjoy your snacks and beverages away from the instrument.
- Clean the keys regularly to prevent dirt buildup: Regular cleaning of the piano keys is essential to maintain their appearance and functionality. Use a soft, microfiber cloth to gently wipe the keys in a sweeping motion from left to right. Avoid using abrasive cleaners or excessive moisture, as it can damage the keys.
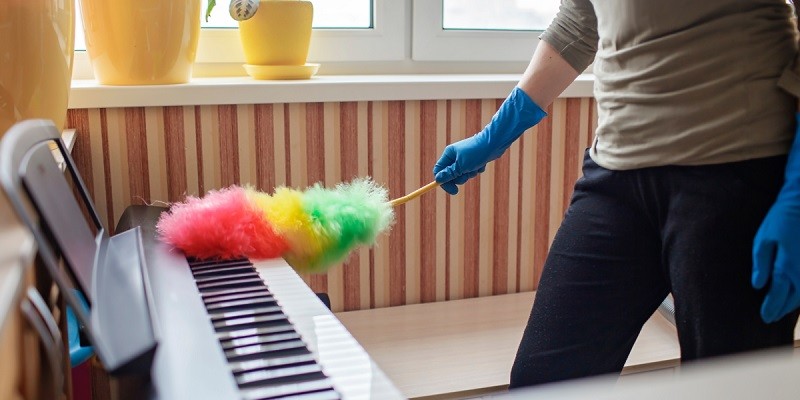
- Keep the piano in a clean and dust-free environment: Dust can accumulate on the keys and affect their responsiveness. Ensure that the area around the piano is kept clean and free from dust. Regularly dust the piano’s surface and keys using a soft cloth or feather duster.
- Cover the piano when not in use: When the piano is not being played, consider using a piano cover to protect it from dust and other environmental factors that may harm the keys. A cover will help maintain the cleanliness and longevity of the piano keys.
- Avoid touching the keys with dirty hands: Before playing the piano, make sure to wash your hands to remove any dirt, oils, or lotions that can transfer onto the keys. Clean hands will help preserve the cleanliness of the piano keys and prevent unwanted buildup.
- Inspect the keys for any damage regularly: Regularly check the piano keys for any signs of wear, damage, or sticking. If you notice any issues, it’s essential to address them promptly to prevent further damage and ensure optimal performance.
By incorporating these regular maintenance tips into your piano care routine, you can keep your piano keys clean, in good condition, and ready to deliver beautiful music whenever you sit down to play.
Additional Tips For Stubborn Stains
If you’re dealing with stubborn stains on your piano keys that regular cleaning methods can’t remove, here are some additional tips to help you tackle the issue:
- Use a specialized piano key cleaner for stubborn stains: Look for a piano key cleaner designed specifically for removing tough stains. These cleaners are formulated to be gentle on the keys while effectively removing stubborn marks and discoloration.
- Follow the instructions provided by the cleaner manufacturer: Each piano key cleaner may have specific instructions for application. It’s important to carefully read and follow these instructions to ensure safe and effective cleaning.
- Avoid using harsh chemicals or abrasive materials: Harsh chemicals and abrasive materials can damage the piano keys and their delicate surfaces. Make sure to avoid using products like bleach, ammonia, or abrasive scrubbing pads. Opt for gentle cleaning solutions that won’t cause any harm.
- Test the cleaner on a small, inconspicuous area first: Before applying the piano key cleaner to the entire keyboard, test it on a small, hidden area to ensure that it doesn’t cause any adverse reactions or discoloration.
- Apply the cleaner to a soft cloth or cotton swab: Instead of directly applying the cleaner to the keys, dampen a soft cloth or cotton swab with the cleaner and gently rub the affected areas. This will help prevent excess cleaner from dripping into the keyboard mechanism.
- Gently scrub the stained areas: For stubborn stains, you may need to gently scrub the affected areas using the cloth or cotton swab. Apply slight pressure while being careful not to damage the keys.
- Wipe clean with a damp cloth: After treating the stains, wipe the keys clean using a damp cloth to remove any residue from the cleaner.
- Dry the keys thoroughly: Once the keys are clean, make sure to dry them thoroughly using a soft, lint-free cloth. Excess moisture can lead to damage or discoloration over time.
- Repeat the process if necessary: If the stains persist, you can repeat the cleaning process or seek professional assistance for more specialized cleaning methods.
- Maintain regular cleaning and care: To prevent stubborn stains in the future, make sure to regularly clean your piano keys following proper maintenance guidelines. This will help maintain the appearance and longevity of your piano keys.
By following these additional tips, you can address stubborn stains on your piano keys and keep them looking clean and beautiful for years to come. Remember to always prioritize gentle methods and avoid using harsh chemicals or abrasive materials to protect your piano keys.
Frequently Asked Questions For How To Clean Piano Keys?
How Often Should You Clean Piano Keys?
It is recommended to clean piano keys at least once a month to maintain their appearance and prevent build-up of dirt and oils.
What Is The Best Way To Clean Piano Keys?
To clean piano keys, use a soft, damp cloth with mild soap and water. Gently wipe each key from top to bottom, avoiding excessive moisture.
Can You Use Household Cleaners On Piano Keys?
No, it is not recommended to use household cleaners on piano keys as they can damage the keys’ finish. Stick to mild soap and water solution.
How Do You Remove Stains From Piano Keys?
To remove stains from piano keys, gently rub them with a cloth and a mixture of mild soap and water. If the stain persists, consult a professional technician.
Should You Clean Piano Keys If They Are Ivory?
If your piano keys are made of ivory, it is best to consult a professional technician for cleaning to avoid damaging the delicate material.
Conclusion
To maintain the beauty and functionality of your piano, regular cleaning of the keys is essential. By following the steps outlined in this guide, you can ensure that your piano keys remain pristine for years to come. Start by dusting the keys with a soft cloth and then gently cleaning them with a mild solution of diluted soap and water.
Be sure to avoid excessive moisture and abrasive cleaning agents. After cleaning, use a dry cloth to remove any leftover moisture and leave the keys to air dry for a few minutes. Remember to clean your piano keys regularly to prevent the buildup of dirt, oils, and grime.
Not only will this keep your piano looking and sounding its best, but it will also prolong its lifespan. So, make cleaning your piano keys a regular part of your piano maintenance routine and enjoy the benefits of a clean and beautiful instrument for years to come.


